When it comes to Australian bathrooms, shower leaks are one of the most common and frustrating issues homeowners face. From dripping corners to damp patches on the walls, these leaks don’t just cause minor inconveniences; they can lead to serious water damage and costly repairs. This is especially true when the bathroom features natural stone surfaces like slate, sandstone, or marble. These materials are beautiful, but also porous, meaning they can absorb water if not properly sealed. Over time, this can weaken the stone, dull its finish, and cause mold to grow beneath the surface.
Proper sealing and maintenance are key to protecting your bathroom investment. With the right knowledge and products, any homeowner in Australia can prevent damage and keep their natural stone shower looking brand new for years.
Why Australian Showers Leak
It’s no secret that Australia’s climate with its humidity, temperature changes, and frequent water use can put strain on bathroom waterproofing. Over time, small cracks or missing grout lines can turn into major leak points. According to waterproofing experts at The Grout Guy, the most frequent causes of leaky showers in Australian homes are poor initial waterproofing, deteriorating grout, and natural movement of the building structure.
When water seeps through these weak spots, it can reach the stone beneath, slowly breaking down both the adhesive and the stone’s surface. Once that happens, even a beautifully tiled shower can start showing signs of wear discoloration, peeling, and that telltale musty smell that signals hidden moisture.
What many homeowners don’t realize is that fixing the surface without addressing the underlying waterproofing only offers a temporary solution. Without proper sealing, the same issue will return again and again.
Spotting Problems with Your Stone Shower
Detecting a leak early can make all the difference. The first sign is often discoloration dark patches appearing around tiles, grout lines, or corners. Sometimes, the stone surface may feel damp even hours after use. In other cases, small cracks in the grout or tiny gaps along the edges can hint at deeper problems.
One simple test is to pour a small amount of water on a dry section of your shower wall or floor. If the water darkens the stone and doesn’t bead up, it’s a clear sign that your sealant has worn away and needs to be reapplied.
Homeowners should also pay attention to musty odors, loose tiles, or damp spots on adjacent walls or floors outside the shower. These are early warnings that water is escaping where it shouldn’t.
Regular inspection at least once every few months can help catch leaks before they turn into a costly renovation project.
Sealing Natural Stone in Showers
Australia’s warm, humid conditions make regular in Showers**
Australia’s warm, humid conditions make regular sealing essential. Without it, natural stone absorbs moisture like a sponge, leading to mold, staining, and gradual erosion. Sealing creates a protective barrier, preventing water from penetrating the surface and keeping the stone’s color vibrant.
For reliable protection of slate and stone in shower areas, Australian homeowners trust products like DiamondCoat Slate & Stone Sealer, which provides waterproof protection while maintaining the stone’s natural appearance. This type of natural stone and slate sealer is designed specifically for the Australian climate, offering long-lasting defense against humidity, soap scum, and hard water buildup.
The key is to choose a sealer that’s compatible with the type of stone in your shower. Some stones, like marble or limestone, need a breathable sealer that allows vapor to escape, while denser stones like granite benefit from penetrating sealers that bond deep within the pores.
DIY Stone Shower Sealing Steps
Sealing your stone shower might sound complicated, but with the right tools and a bit of patience, it’s a manageable weekend project. Here’s a simple five-step process:
- Clean the Surface Thoroughly – Remove all soap residue, mildew, and dirt. Use a pH-neutral stone cleaner to avoid damaging the surface.
- Dry Completely – Allow the stone to dry for at least 24 hours before sealing. Moisture trapped under the sealant can cause cloudiness or uneven protection.
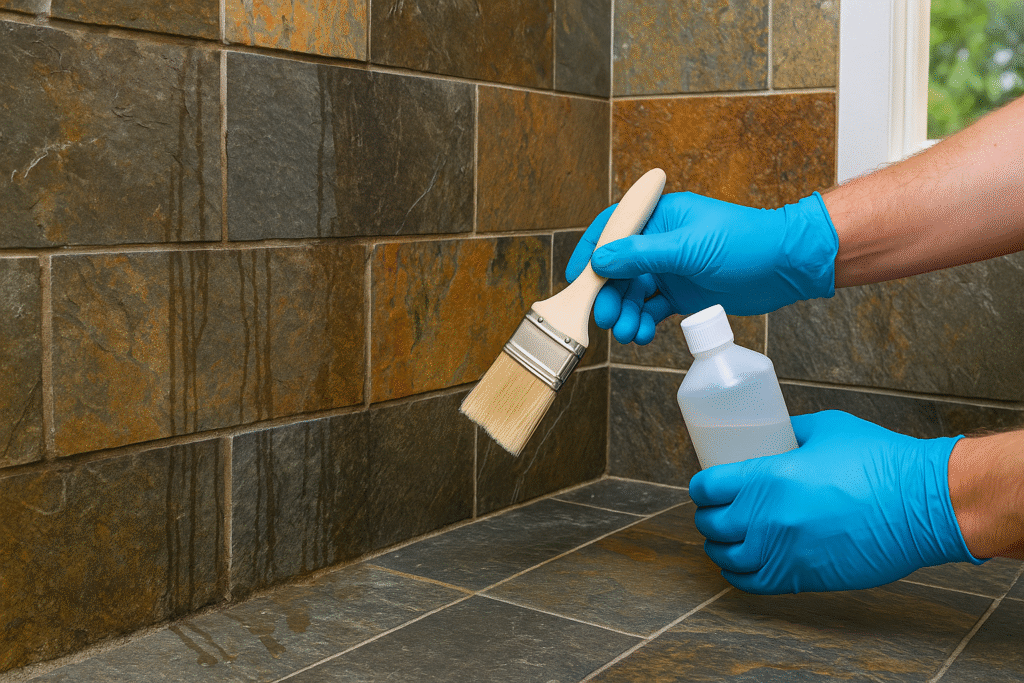
- Apply the Sealer Evenly – Use a clean, lint-free cloth, sponge, or roller to apply the sealer in smooth, overlapping strokes. Avoid overapplying thin coats work best.
- Allow Proper Drying Time – Let the sealer absorb and cure as per the product instructions, usually between 30 minutes to an hour.
- Buff for a Polished Finish – After drying, gently buff the surface to enhance shine and remove any residue.
Experts recommend resealing natural stone surfaces in high-moisture areas every 12 to 18 months, depending on use and ventilation. In coastal or tropical regions, sealing every year may be necessary to maintain maximum protection.
Why Prevention Always Beats Repair
Repairing a leaking shower or replacing damaged stone can be expensive often costing thousands of dollars in labor and materials. Prevention, on the other hand, is relatively affordable and far less stressful. By investing a little time in maintenance, homeowners can extend the life of their showers and preserve their property value.
A well-sealed shower doesn’t just look better; it also prevents mold growth, maintains indoor air quality, and ensures a more hygienic bathroom environment. When sealed properly, natural stone can last for decades without losing its beauty or structural integrity.
The smartest move is to schedule a routine inspection and sealing maintenance plan. This simple habit ensures that minor issues are caught early long before they turn into expensive renovations.
Conclusion
In Australian homes, where showers are used daily and moisture levels run high, protecting natural stone surfaces is essential. Understanding the signs of leaks, performing regular maintenance, and applying the right type of sealer are the key steps to keeping your bathroom strong and beautiful.
When done correctly, sealing transforms your shower from a maintenance headache into a lasting centerpiece of your home. It’s an easy, effective way to prevent leaks, preserve stone quality, and save money in the long run.
If your bathroom features slate, sandstone, or marble, take the time to seal it properly and check for leaks periodically. With the right care, your shower will remain as stunning and durable as the day it was installed.