Corn has a reputation as a crop for farmers with acreage. Tall plants, wide spacing requirements, wind pollination that supposedly demands large blocks to set seed reliably. Most small-space and backyard gardeners write it off before giving it serious consideration. That is a mistake worth correcting, because corn grown at home from a quality open-pollinated variety bears almost no resemblance to commercial corn in flavor, texture, and versatility, and the yield from even a modest patch justifies the space it requires.
The key to growing corn successfully in a limited area is understanding the biology rather than following generic spacing advice designed for commercial field production. Once you understand why corn needs what it needs, you can adapt the growing system to your specific space and come out with a productive, satisfying harvest from a patch that fits within a typical suburban backyard.
Understanding Corn Pollination: The Critical Factor
Corn is wind-pollinated. The tassels at the top of the plant release pollen that must travel to the silks emerging from developing ears lower on the plant. Each silk strand corresponds to one kernel, and it must receive pollen to set a kernel in that position. Ears with missing or poorly filled sections, often called bald ears, are almost always the result of poor pollination rather than any other problem.
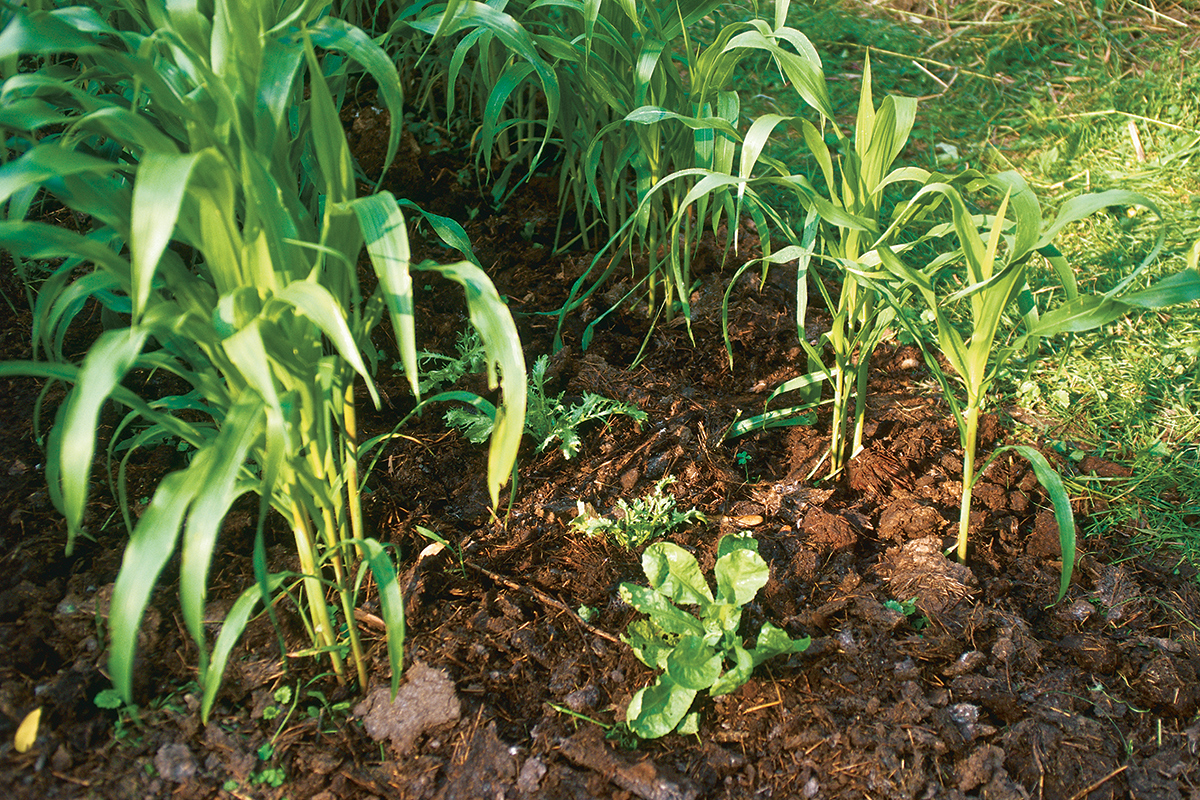
Commercial corn is planted in long rows because this allows wind to carry pollen efficiently down the row. For small-space growers, the better configuration is a block planting: multiple short rows planted close together so that pollen falling from any plant has a high probability of landing on silks of nearby plants. A 4-by-4 foot block of corn, planted in four rows of four plants each, pollinates more reliably than a single long row of sixteen plants because of how the block geometry keeps pollen and silks in close proximity.
The minimum block size for reliable pollination in most conditions is roughly twelve to sixteen plants. Fewer than this and you risk poor ear fill regardless of how healthy the plants are. More is always better for pollination reliability, but twelve to sixteen plants in a block configuration is a workable minimum for a small-space grower.
Choosing the Right Variety for a Small Garden
Variety selection has more impact on small-space corn growing success than almost any other decision. Commercial sweet corn varieties bred for large-scale production are often tall, late-maturing, and optimized for conditions that small gardens cannot replicate. Open-pollinated and heirloom varieties, many of which were developed for exactly the kind of small-scale, hand-tended gardens that homesteaders and subsistence farmers maintained for generations, frequently perform better in small plots.
Dwarf and semi-dwarf corn varieties reach four to five feet rather than the seven or eight feet of standard varieties, which reduces shading of surrounding garden beds and makes them more manageable in limited vertical space. Early-maturing varieties complete their growth cycle in 70 to 80 days rather than 90 to 100, which is significant in short-season climates where every growing day counts.
The type of corn also matters for how you intend to use the harvest. Sweet corn eaten fresh from the garden at peak ripeness is exceptional but has a short harvest window. Flour corn and popcorn varieties are harvested dry, which means the harvest window is flexible and the product stores for months or years without refrigeration or special processing. For a self-sufficient food system, dry corn varieties offer considerably more practical value than sweet corn despite being less familiar to most home gardeners.
Among dry corn options for the home garden, popcorn varieties deserve particular attention. They are productive, they store exceptionally well, they are genuinely nutritious as a whole grain food, and some varieties have flavor and texture qualities that commercial popcorn simply does not match. is one of the most interesting examples in this category: a variety maintained by Amish farming communities that differs from commercial popcorn in kernel size, hull thickness, flavor, and the way it pops. Growing your own from this kind of traditional variety, and saving seed from your best plants each season, puts you in a direct line with a growing tradition that predates industrial agriculture by generations.
Soil Preparation and Planting
Corn is a heavy feeder. It pulls significant quantities of nitrogen from the soil over its growing season, which is why traditional polyculture systems like the Three Sisters planted beans alongside corn to replace the nitrogen the corn removed. In a small garden where you are growing corn in a block rather than as part of a polyculture, soil preparation before planting needs to account for this nutritional demand.
Work compost into the planting area generously before planting, at least two to three inches incorporated into the top foot of soil. If you have access to aged manure, this is one of the best amendments for corn. The goal is a rich, moisture-retentive but well-draining soil that can sustain the crop through its full growth period without requiring heavy supplemental fertilization.
Corn is warm-season and cold-sensitive. Do not plant until soil temperature reaches at least 60 degrees Fahrenheit, and ideally 65 or higher for good germination. In most temperate climates this means waiting until two weeks after the last frost date. Plant seeds one inch deep and six to nine inches apart within rows, with rows spaced twelve to eighteen inches apart in a block configuration. Closer spacing within the block is acceptable if your soil is rich and you can maintain consistent moisture.
Corn germinates in five to ten days under good conditions. Thin to the strongest plant at each position if you planted multiple seeds per spot. Do not transplant thinnings, as corn does not transplant well once established. Water consistently through the growing season, particularly during the tasseling and silking stage when water stress has the most direct impact on ear development and kernel fill.
Managing Pests in a Small Corn Patch
The primary pest concern for small-scale corn growers in most of North America is the corn earworm, a caterpillar that enters the ear through the silk end and feeds on developing kernels. In commercial production this is managed with pesticides or Bt applications. In a small garden, the most practical approach is to apply a small amount of food-grade mineral oil or Bt solution directly into the silk channel of each ear shortly after the silks emerge and before they dry. This is tedious at commercial scale but entirely manageable for a dozen or two dozen ears.
Birds, particularly crows and ravens, will pull up corn seedlings and pull down developing ears. A simple physical deterrent, reflective tape strung above the planting, or a lightweight row cover over seedlings immediately after planting, addresses this without chemicals. Raccoons are the most persistent and difficult mammal pest for corn growers in suburban and rural areas. They are intelligent, persistent, and capable of demolishing an entire small corn patch in a single night. Electric fencing is the most reliable deterrent for raccoon pressure.
Harvesting and Storing Dry Corn
Sweet corn is harvested at the milk stage, when the kernels are full and sugary. Dry corn varieties including popcorn and flour corn are left on the plant until the husks are dry and brown and the kernels have hardened fully. In most climates this happens naturally in the field through late summer and fall. Pull back the husks and allow the ears to continue drying in a warm, ventilated space if wet weather threatens the field-drying process.
Shell dry corn by hand or by twisting two ears against each other to knock kernels loose. Spread shelled corn in a single layer on a screen or tray and allow it to dry completely at room temperature for one to two weeks before storing. Corn stored before it is fully dry will mold. Properly dried corn stored in an airtight container in a cool location keeps for one to several years without significant quality loss.
Save the best ears for seed before shelling the rest for eating. Choose ears from the most vigorous plants that tasseled and filled well. Label them and store separately in a cool, dry location. The seed from this season’s best plants is next season’s crop, and the selection pressure you apply over several seasons gradually improves variety performance in your specific conditions.